|
|
 |
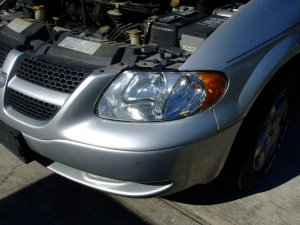
Headlight Lens Restoration Tutorial
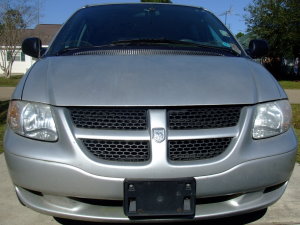
2003 Dodge Grand Caravan
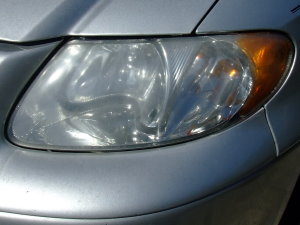
Here we have a pair of headlight lenses that have become dull due to the sun's harmful UV rays.
There are some kits out there that use polishing compounds to freshen up headlight lenses.
We have found the best results are had by re-clearing the lenses with a sprayable clearcoat.
This method will also produce the longest lasting results.
|
Materials needed:
| • | Adhesive remover or comparable cleaning solvent |
| • | 400 grit wet/dry sandpaper |
| • | Spray bottle filled with water |
| • | Mini touch up spray gun* |
| • | Air compressor with hose |
| • | Clearcoat w/hardner |
| • | 3/4 inch masking tape |
| • | Hand held paper masking roller |
| • | Scuff gel |
*For those of you who don't have a mini spray gun, an alternative solution would be to get a
can of sprayable clearcoat from a body shop supply store. |
|
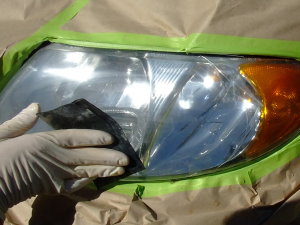
First step is to open the hood to make the prep work much easier. Wipe the lenses
clean with the adhesive remover. |
|
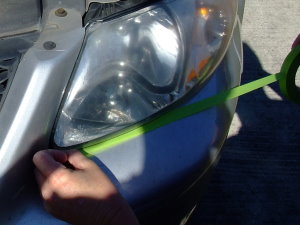
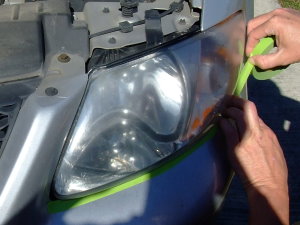
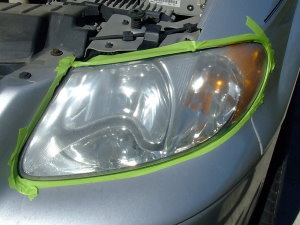
Next, tape off the edges of the lens using 3/4 inch masking tape. |
|
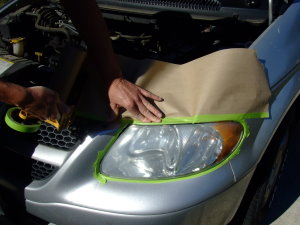
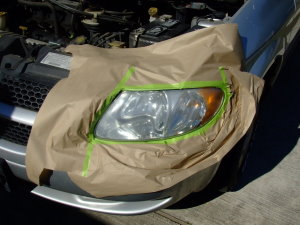
Follow up by using paper from the hand held roller to mask off surrounding area. Usually 6" or 9" paper works best for this application. |
|
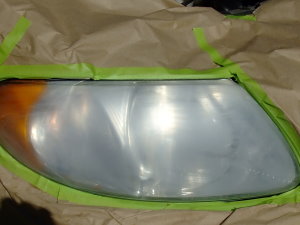
Use the water from the spray bottle and a piece of 400 wet/dry sandpaper, start sanding keeping
the lens wet and sanding across from right to left then up and down. |
|
Be careful not to sand anything other than the lens like the painted surfaces surrounding the lens. Wipe lens dry. |
|
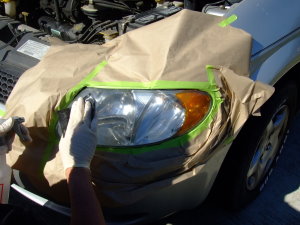
At this point the lens will look very dull due to the scratches caused by the sanding process. Wipe the scuff gel
on the lens concentrating on the edges. Wipe excess gell off then wipe entire lens with the adhesive remover.
Blow off dry with the air compressor. |
|
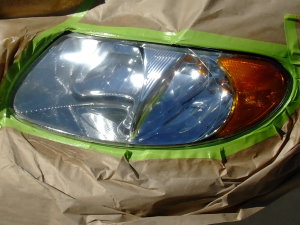
Mix clearcoat into mini spray gun according to label, attach gun to compressor, test spray pattern.
Apply clearcoat using sweeping motion from right to left overlaping by 50%. Meaning make a pass from right
to left, then on the next pass overlap the previous pass by half or 50%. Don't go too slow or you may "run"
the clearcoat, causing it to sag. |
|
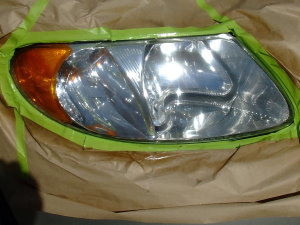
Here are the lenses after the clearcoat has been applied. They look brand new and will last for many years. |
Remove all masking paper and tape. Clean out the spray gun using acetone.
~CarFixn~ |
 |
|
|
| |
Disclaimer: *All information on this site is provided "as is" without any warranty of any kind,
either expressed or implied, including
but not limited to fitness for a particular use.
Any user assumes the entire risk as to the accuracy and use of this information.
Copyright © 2008 CarFixin.com
- Today is Wednesday, March 18, 2026 |